
Table of Contents
- Start With How the Van Gets Used
- The Best Wood Finish for Van Interior Depends on Traffic and Moisture
- Oil vs Varnish for Van Wood: What Each One Does
- Choosing a Low-VOC Wood Finish for Campervan Interiors
- Step-by-Step: Applying the Finish
- Van Interior Wood Finish Ideas That Suit a Golf Van
- Common Mistakes to Avoid
- Frequently Asked Questions
Last Updated: October 18, 2026
Start With How the Van Gets Used
The right van wood finishes start with an honest look at your travel habits, not a color swatch. We’ve learned that how to choose custom van wood finishes comes down to one question: what will this wood actually face?
A tournament van that hauls wet umbrellas and muddy shoes needs a tougher surface than a showpiece that mostly sits in a garage. Most buyers pick a finish by looks alone. That’s the first mistake.
Here’s what to weigh before you shop:
- Weekly tournament travel: high traffic, more scuffs, more cleaning
- Family and team use: spills, snacks, wet gear, kids climbing in
- Occasional resort trips: lower wear, more focus on appearance
- Humidity and heat: wood near doors and floors moves more
- Sun exposure: parked outdoors means fading risk
Write down your real usage pattern. That single step narrows your options fast.
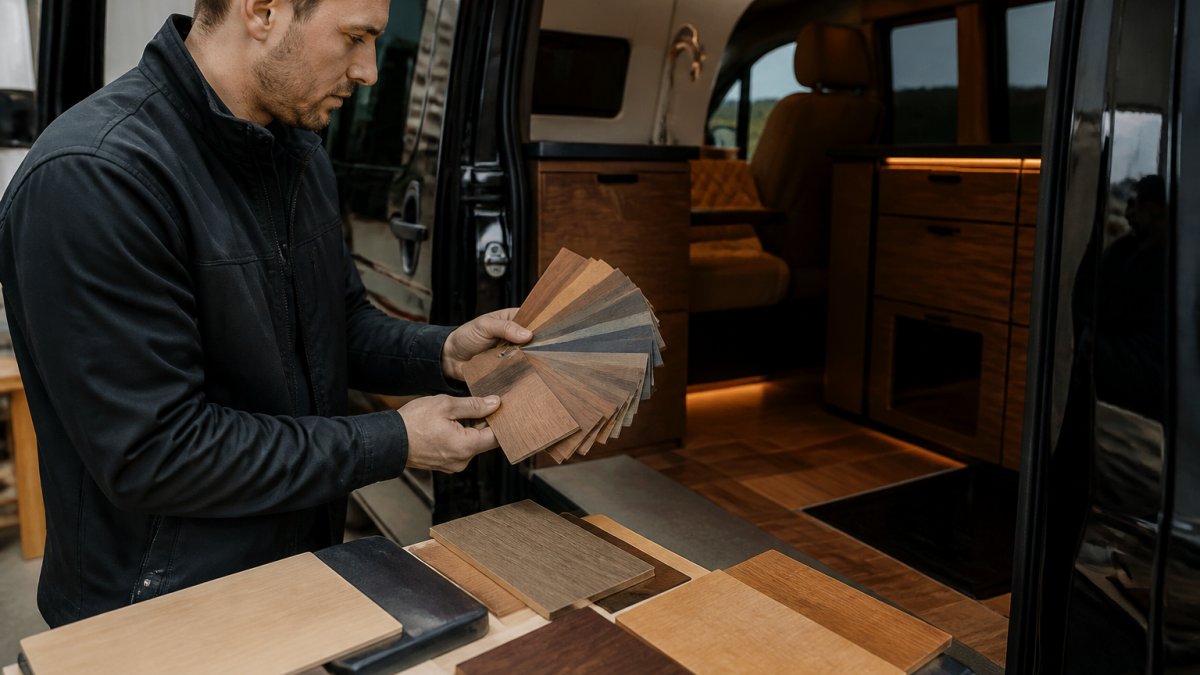
Customers should check the wood in low-light conditions, like a garage at dusk. A finish that looks rich in a showroom can look flat or orange once it’s inside a van with tinted windows.
The Best Wood Finish for Van Interior Depends on Traffic and Moisture
The best wood finish for a van interior is the one matched to your traffic level and moisture exposure, not the most expensive product on the shelf. A busy team van and a weekend cruiser need different answers.
Think in three tiers:
- High traffic: a hard film finish that resists scratches and wipes clean
- Moderate traffic: a mid-range film finish with good water resistance
- Low traffic: an oil finish that highlights grain and is easy to touch up
Moisture matters just as much. Wood near entry steps, cup holders, and club storage sees damp gear and condensation. In those spots, a finish with strong water resistance pays off.
A common mistake is treating the whole van the same. Finishing high-wear zones differently from display panels can provide durability where it counts without overspending on surfaces nobody touches.
Skipping a finish on the underside of panels and inside club storage invites swelling and warping. Once moisture gets into raw wood, no topcoat will fix it. Seal every face, including the hidden ones.
Oil vs Varnish for Van Wood: What Each One Does
Oil and varnish behave very differently, and the choice shapes how your van looks and how much upkeep it needs. Oil soaks into the wood. Varnish builds a protective film on top.
Oil finishes sink in and leave the grain feeling natural. They’re forgiving. If a panel gets scratched, you sand lightly and re-oil that spot. The trade-off is that oil needs reapplication over time, and it offers less protection against standing water.
Varnish forms a hard shell that shrugs off spills and wear. It’s the tougher pick for busy vans. The catch is that scratches show more, and repairs mean sanding back to bare wood in that area.
Here’s the quick comparison:
| Feature | Oil Finish | Varnish Finish |
|---|---|---|
| Look | Natural, matte | Glossy to satin film |
| Water resistance | Moderate | High |
| Scratch repair | Easy spot fix | Harder, needs sanding |
| Upkeep | Reapply periodically | Rarely, but tough to repair |
| Best for | Low-traffic, grain lovers | High-traffic, team vans |
For a working tournament van, varnish often wins on durability. For a display panel where a natural feel is desired, oil can be a better call.
Choosing a Low-VOC Wood Finish for Campervan Interiors
A low-VOC wood finish for a campervan matters because you’re sleeping and breathing inside a small, sealed space. VOCs are the chemicals that off-gas from many finishes, and they can linger for days.
Look for water-based products labeled low-VOC or no-VOC. They dry faster and smell far less than solvent-based options. The catch is that some water-based finishes need more coats to build the same protection.
Check the label for these signals:
- Water-based: lower odor, easier cleanup
- Low-VOC or no-VOC claim: printed on the can
- Indoor-safe rating: made for enclosed spaces
- Full cure time: read it before you load the van
Apply low-VOC finishes with good airflow anyway. Open the doors, run a fan, and let the van air out fully before your first trip. The EPA’s guidance on indoor air quality and VOCs explains why ventilation matters even with safer products.
For any van you’ll sleep or spend long hours in, a water-based low-VOC finish is worth the extra coats. Your lungs will thank you on the first overnight trip.
Step-by-Step: Applying the Finish
A clean, patient application decides how your finish holds up. Rushing any step shortens its life.
Total time: about one full day plus cure time.
Difficulty: beginner-friendly with care.
What you’ll need:
- Sandpaper in a few grits
- Tack cloth
- Quality brush or applicator pad
- Your chosen finish
- Painter’s tape
- Fan and ventilation
Step 1: Prep the surface [Time: 30 minutes]
Sand the wood smooth, working from coarse to fine grit. Wipe off all dust with a tack cloth. Finish won’t bond to a dirty surface.
Step 2: Tape off edges [Time: 10 minutes]
Mask nearby surfaces so drips don’t reach upholstery or trim.
Step 3: Apply the first coat [Time: 20 minutes]
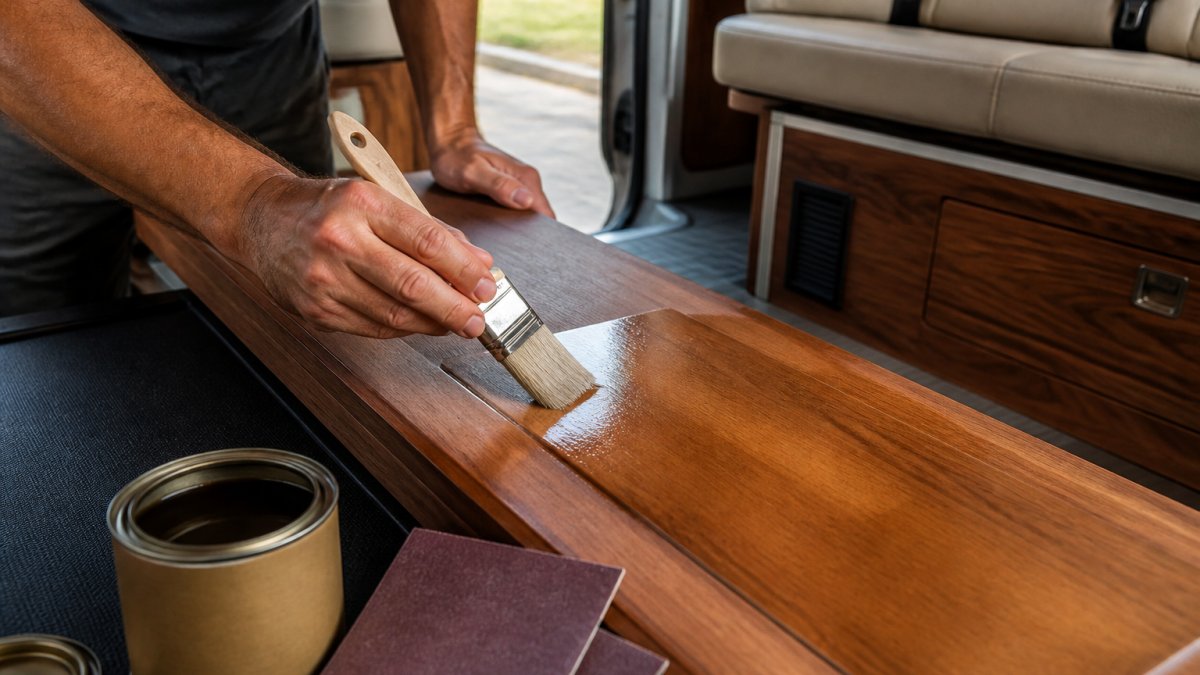
Brush with the grain in thin, even strokes. Thin coats beat thick ones every time.
Step 4: Let it dry [Time: per label]
Follow the can’s dry time exactly. Cool, humid air slows drying.
Step 5: Sand lightly and recoat [Time: 20 minutes]
Lightly scuff between coats for a smooth bond. Apply two to three coats total.
Expected result: a smooth, even surface with no drips or dry patches.
Between coats, run your hand over the wood. If it feels rough, sand lightly before the next layer. That small habit separates a pro finish from a bumpy one.
Van Interior Wood Finish Ideas That Suit a Golf Van
Van interior wood finish ideas for a golf van should solve golf problems: wet gear, dirty shoes, and long days on the road. The goal is a space that looks premium and works hard.
Here’s what we’d consider:
- Warm matte oil on display panels: rich grain, natural feel
- Satin varnish on club storage: hides scuffs, wipes clean
- Darker tones near floors: hide dirt and shoe marks
- Lighter tones up high: keep the cabin feeling open
- Matched trim on seating bases: ties the layout together
A golf van is a mobile clubhouse. The American Wood Council’s guide to finishing wood is a solid reference for matching finish types to how hard a surface will work.
Keeping high-traffic surfaces durable and simple, then putting the showpiece finish where eyes land first, can provide a balance that results in a van that looks custom and survives the season.
Common Mistakes to Avoid
Most finish failures trace back to a few repeatable errors. Avoid these and your wood will last far longer.
- Skipping prep: dust and oil block adhesion
- Thick coats: they trap moisture and dry unevenly
- Ignoring humidity: cool, damp air ruins cure times
- One coat only: thin single layers wear through fast
- No test patch: always try a hidden spot first
- Forgetting hidden faces: unsealed undersides swell
A common mistake is chasing a glossy look with heavy coats. It looks great for a week, then cracks. Patience beats shine.
Applying finish in a cold garage can leave a cloudy, tacky surface that never fully cures. Work in a warm, dry space, or wait for better weather.
Frequently Asked Questions
What is the best finish for wood in a van?
There is no single best finish, but for most van interiors a hardwearing varnish or polyurethane gives the best protection against scuffs, spills, and humidity. Oil finishes suit lower-traffic panels and anyone who wants a natural look and easy spot repairs. The right van wood finishes depend on where the panel sits, how many people use the van, and how much upkeep you are willing to do.
Should you use oil, varnish, or paint on van interior wood?
Oil soaks into the wood and leaves a natural feel, but it needs reapplication every year or so. Varnish sits on the surface and resists moisture and wear better, which suits floors, tables, and club storage areas. Paint hides the grain and is best for panels you want to match to upholstery. For golf vans, a varnish on high-traffic surfaces and oil on feature panels can be a practical split.
Are low-VOC wood finishes a good choice for a van interior?
Yes. A van is a small, sealed space, so solvent fumes linger longer than they would in a house. Low-VOC and water-based finishes cut odor and off-gassing while still giving good protection when applied in thin coats. Check the product label for VOC content and allow proper curing time before you load clubs and gear back in.
How often should van wood finishes be maintained?
Oil finishes usually need a refresh once a year, or sooner if the surface starts looking dry. Varnish and polyurethane last several years but should be inspected for scratches and worn edges, especially around club storage and doorways. Wipe spills promptly and keep humidity steady to extend the life of any finish.
Picking the right finish takes a little thought, but it’s the difference between wood that lasts and wood that fails. GOLF Cruiser builds each van with custom club storage, flexible layouts, and finishes chosen to match how you travel. Our hand-built vehicles, backed by over 45 years of experience, are made to work as hard as you play. Contact us today to plan the interior your game deserves.