
Table of Contents
- Understanding Your Luxury Van’s Leather Type and Care Requirements
- How to Clean Leather Car Seats: Step-by-Step Process
- Best Leather Cleaner for Car Seats and Safe Application
- How Often to Clean Leather Upholstery: A Maintenance Schedule
- Leather Seat Cleaning Mistakes to Avoid
- Conditioning and Protecting Your Luxury Van Leather
- When to Seek Professional Detailing or Leather Repair
- Frequently Asked Questions
Last Updated: October 10, 2026
Understanding Your Luxury Van’s Leather Type and Care Requirements
Maintaining luxury van leather upholstery starts with understanding what you’re working with. Different leather types respond differently to cleaning methods and products, and proper care keeps it looking pristine for years.
Before you apply any cleaner, check your vehicle manufacturer’s care instructions. These guidelines specify which products are safe for your particular leather type and finish. Skipping this step is a common mistake that can void warranties or damage the material.
Checking Your Vehicle Manufacturer’s Care Instructions
Your owner’s manual specifies your leather’s composition and recommended maintenance, including:
- Leather type (full-grain, top-grain, semi-aniline, pigmented, or synthetic blend)
- Approved cleaning product types and pH ranges
- Temperature ranges for cleaning
- Conditioning frequency and product recommendations
- Products to avoid (bleach, ammonia, petroleum distillates, silicone-based sprays)
- Special instructions for ventilated, heated, or cooled seats
If you’ve lost your manual, contact your dealership or check the manufacturer’s website for a digital copy.
Identifying Leather Type and Finish
Luxury vans typically feature one of three leather types, each requiring different care:
Full-grain or top-grain leather is the most durable option. It retains natural pores and grain patterns, develops patina over time, and resists staining. With minimal finish coating, it’s more susceptible to water spots but more receptive to conditioning.
Pigmented or protected leather has a protective coating that resists stains and fading but can crack if over-conditioned or exposed to excessive heat. It’s common in high-use areas like captain’s chairs.
Semi-aniline or synthetic-blend leather combines natural leather with polyurethane coatings. These are easier to clean and more stain-resistant than full-grain, though they don’t develop patina. They’re increasingly common in luxury vans.
To identify your leather type, check the owner’s manual first.
Identifying Perforated, Stitched, and Quilted Leather Surfaces
Luxury vans often feature textured leather with perforations, stitching, or quilted patterns.
Perforated leather traps debris in every hole and allows moisture to travel into the seat structure, potentially reaching heating or cooling elements.
Stitched seams create pockets where moisture and dirt hide.
Quilted surfaces require careful attention because cleaning solution pools in valleys and aggressive scrubbing can damage thread or separate quilting from backing.
Perforated leather requires thorough vacuuming before wet cleaning. Stitched areas need minimal moisture and careful drying.
How to Clean Leather Car Seats: Step-by-Step Process
The process for how to maintain luxury van leather upholstery follows a logical sequence: dry cleaning, then wet cleaning, then protection. Skipping early stages leads to streaking and incomplete dirt removal.
Removing Loose Dust and Debris
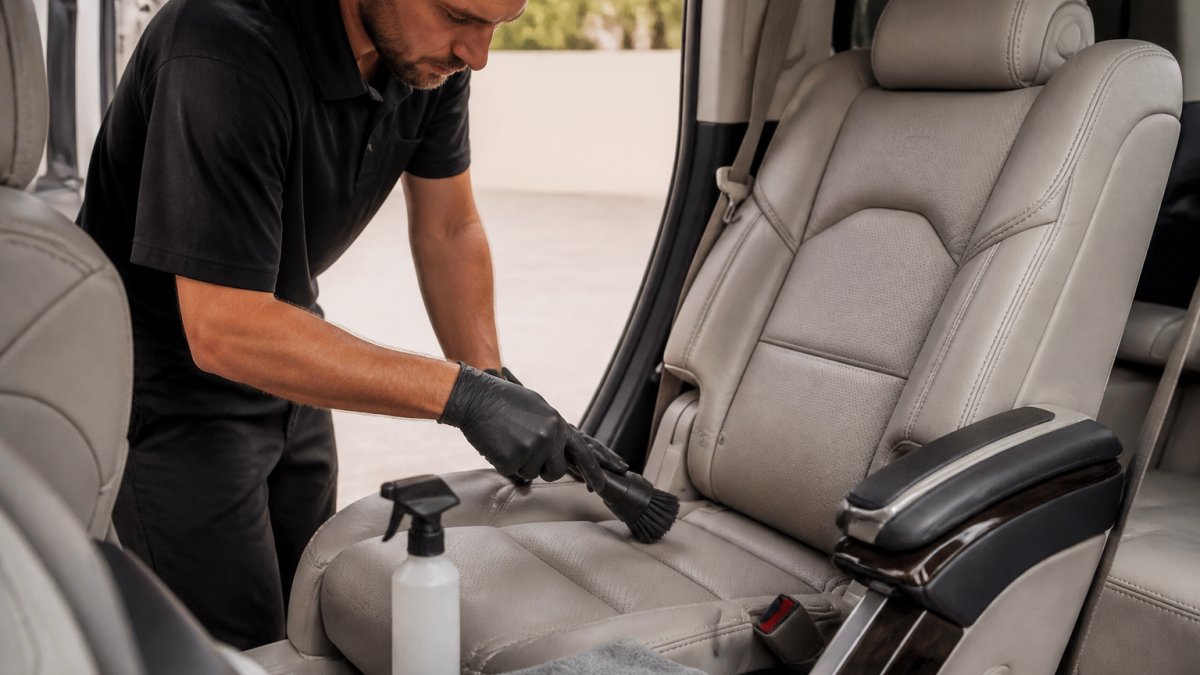
Begin by removing surface dust before applying any liquid cleaner. Use your vacuum’s upholstery attachment with a soft-bristle brush head. Work systematically across the main seating surface, seams, crevices, and between cushions. This dry step prevents pushing dust into the leather during wet cleaning and reduces cleaner needed.
Vacuuming Seats, Seams, and Crevices
Use the brush attachment on seams and textured areas, focusing on entry points, seams between cushions, and where the seat back meets the bottom. Spend extra time on captain’s chairs since they see more contact than bench seating.
Blotting Spills Promptly
When liquid spills on leather, blot immediately with a clean, dry microfiber cloth using gentle pressure, working from the outside edge toward the center. Never let spills dry on their own, as moisture causes staining, odor, or mildew growth.
Best Leather Cleaner for Car Seats and Safe Application
Choosing the right cleaner determines whether your how to maintain luxury van leather upholstery efforts succeed or damage the material. Wrong products can strip natural oils, cause discoloration, or leave residue.
Choosing Mild, Leather-Specific Products
Leather-specific cleaners are pH-balanced and formulated to clean without stripping protective finishes. Look for products labeled “leather-safe” or “leather-specific” and designed for automotive leather. Avoid bleach, ammonia, petroleum distillates, and general-purpose cleaners, which strip oils and cause permanent discoloration.
Testing Products on Inconspicuous Areas
Before applying any new cleaner to visible surfaces, test it on a hidden spot like the underside of a seat. Apply the cleaner exactly as you would on the main seat, then wait 24 hours to check for discoloration, residue, or damage.
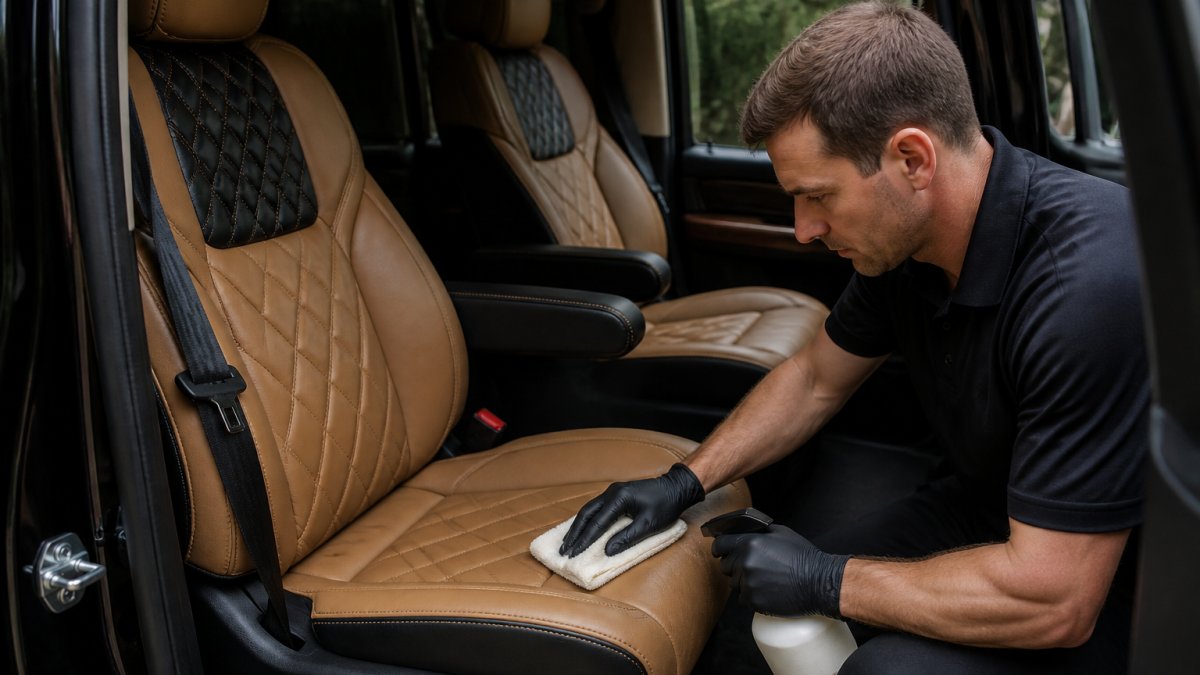
Cleaning Gently with a Microfiber Cloth
Microfiber cloths are essential for leather cleaning, they’re soft enough to avoid scratching while effective at lifting dirt. Use light to medium pressure in small sections with gentle circular motions. After cleaning, wipe with a second microfiber cloth dampened with distilled water to remove residue.
How Often to Clean Leather Upholstery: A Maintenance Schedule
Consistent maintenance prevents dirt buildup. Frequency depends on van use, climate, and seating configuration.
Assessing Your Van’s Use Pattern and Climate
Evaluate your van’s use frequency, climate, sun exposure, and seating configuration. High-use vans, dry climates, and sun-exposed vans require more frequent conditioning. Captain’s chairs and perforated seats soil faster than bench seating.
Daily and Weekly Maintenance for High-Use Areas
Captain’s chairs and entry areas see the most contact and benefit from frequent light attention. Daily: wipe entry points and blot spills. Weekly (for vans used 3+ times per week): vacuum and wipe high-contact surfaces. Every 2-3 weeks (for vans used 1-2 times per week): vacuum all seating surfaces and check for stains. Frequent light cleaning reduces the need for deep cleaning sessions.
Deep Cleaning Schedule Based on Use and Climate
High-use vans (used 4+ times per week) or high-traffic environments:
- Deep clean every 4-6 weeks
- More frequent if passengers are eating or drinking in the van
- More frequent in humid climates where mildew risk is higher
Moderate-use vans (used 2-3 times per week):
- Deep clean every 8-12 weeks
- Adjust based on visible dirt accumulation
- More frequent if exposed to dust (construction sites, sandy areas)
Light-use vans (used less than once per week or garaged):
- Deep clean every 12-16 weeks
- Inspect leather condition before each deep clean
- More frequent if leather shows signs of drying
Conditioning Schedule Based on Climate and Exposure
Leather naturally dries out over time, especially in vehicles exposed to sun and temperature changes. Conditioning replenishes oils and prevents cracking. The frequency depends on your climate and sun exposure.
High-sun or dry climates (arid regions, high-altitude areas):
- Condition every 2-3 months
- More frequent if van is parked outdoors regularly
- Consider conditioning before and after summer months
Moderate climates with seasonal variation:
- Condition every 3-4 months
- Condition before winter (heating dries leather) and before summer (sun exposure)
- Inspect leather quarterly; condition if it feels dry or looks dull
Humid or temperate climates, garaged vans:
- Condition every 4-6 months
- Condition if leather shows signs of drying
- Less frequent conditioning needed if van is climate-controlled
After deep cleaning:
- Always condition after a deep clean, regardless of your regular schedule
- Cleaning removes some natural oils; conditioning restores them
- Wait 24 hours after cleaning before conditioning to allow leather to dry completely
Seasonal Adjustments
Spring: Inspect leather after winter heating exposure. Condition if leather feels stiff or dry. Deep clean to remove winter salt and dirt accumulation.
Summer: Increase conditioning frequency if van is parked in sun. Use sunshades and park in shade when possible. Monitor for fading or heat damage.
Fall: Prepare for winter by conditioning thoroughly. Clean out accumulated dust and debris. Check seams and perforations for moisture.
Winter: Reduce conditioning frequency if van is garaged. If parked outdoors, condition more frequently to counteract heating system drying. Monitor for salt damage if in snowy regions.
Creating Your Personal Maintenance Calendar
Write down your van’s use pattern, climate, and seating configuration. Use the guidelines above to set specific dates for vacuuming, deep cleaning, and conditioning. Set phone reminders for these dates. Consistency matters more than perfection, a regular schedule prevents problems far more effectively than sporadic intensive cleaning.
Leather Seat Cleaning Mistakes to Avoid
Common errors can permanently damage leather or create problems that are costly to repair. Understanding these mistakes helps you protect your investment in how to maintain luxury van leather upholstery.
Avoiding Harsh Chemicals and Abrasive Tools
Harsh chemicals destroy leather’s protective finish and natural oils. Abrasive tools scratch the surface and create areas where dirt accumulates more easily.
Never use bleach, ammonia, acetone, stiff-bristled brushes, pressure washers, or automotive degreasers. These cause permanent discoloration, cracking, or deterioration.
Protecting Leather Around Ventilation, Heating, and Electronics
Luxury vans feature ventilated seats with heating and cooling functions. Protect electronics by using minimal water, wringing out cloths thoroughly, avoiding sprays on vents, and allowing extra drying time. Perforations allow water to travel deeper into the seat structure, potentially damaging heating elements.
Conditioning and Protecting Your Luxury Van Leather
Conditioning is the most important step in long-term leather preservation. It restores moisture, maintains flexibility, and protects against environmental damage. Think of conditioning as sunscreen for your leather.
Applying Leather Conditioner to Prevent Drying and Cracking
Apply quality leather conditioner after cleaning and allowing leather to dry completely. Use a soft cloth, apply thin even coats in small sections, and buff away excess. Most conditioners require 24 hours to fully cure.
Shielding Leather from Direct Sunlight and Heat Exposure
UV rays and heat are leather’s enemies. They fade color, dry out the material, and accelerate deterioration. Protecting your van from these elements extends leather life significantly.
Practical protection strategies:
- Park in shade or a garage when possible
- Use sunshades on windshields and side windows
- Close window shades or curtains if your van has them
- Apply UV-protective window tint
- Run air conditioning to maintain stable interior temperature
Heat and sun exposure are unavoidable during use, but minimizing exposure during storage makes a real difference. A van parked in the sun all summer will show noticeably more leather aging than one parked in shade.
When to Seek Professional Detailing or Leather Repair
Some leather damage exceeds DIY care. Professional detailers have specialized equipment and products for deep cleaning and restoration. Knowing when to call a professional saves money by preventing further damage.
Seek professional help for:
- Deep stains that don’t respond to cleaning
- Cracking or peeling leather
- Color fading or discoloration
- Leather that feels excessively stiff or brittle
- Damage from spills or accidents
- Professional conditioning for high-mileage interiors
Professional detailers can assess leather condition, recommend treatments, and perform restoration work that restores appearance and extends life. For luxury vans, professional care is worth the investment to maintain resale value and interior condition.
Keeping your luxury van’s leather upholstery in excellent condition requires consistent attention and the right approach.
Frequently Asked Questions
How often should you clean and condition leather upholstery in a luxury van?
Clean leather seats weekly if they see heavy use, especially high-traffic entry areas and captain’s chairs. Condition every 3 to 6 months depending on climate and exposure. Vehicles in hot, dry climates or those exposed to direct sunlight benefit from more frequent conditioning to prevent drying and cracking. Check your vehicle manufacturer’s care instructions for specific intervals.
What should you avoid when cleaning luxury leather upholstery?
Never use harsh chemicals, abrasive scrubbers, or household cleaners like dish soap or vinegar on leather seats. Avoid soaking leather or using excessive water. Do not apply cleaners near ventilation, heating elements, or electronic controls. Skip rough-textured brushes that can scratch or damage the leather’s surface. Always test any new product on an inconspicuous area first.
Can you use regular household cleaners on leather car seats?
No. Household cleaners, including dish soap and all-purpose sprays, can strip protective oils from leather, cause discoloration, and damage the material. Use only mild, leather-specific cleaners formulated for automotive upholstery. These products are pH-balanced and designed to clean without harming the leather’s finish or conditioning layers.
What do professional detailers use to clean leather seats?
Professional detailers use leather-specific automotive cleaners, microfiber cloths, and soft-bristle brush attachments for vacuuming seams and crevices. They test products on hidden areas first, apply cleaners gently, and follow with conditioning treatments. Many use pH-balanced formulations that lift dirt without damaging the leather. They also protect electronics and ventilation areas during cleaning.
Ready to experience the difference that premium craftsmanship makes? Contact GOLF Cruiser today to explore how our hand-built luxury vans combine superior comfort, custom storage, and that impeccable leather interior you deserve for your golf adventures.