
Last Updated: October 28, 2026
Quick Summary
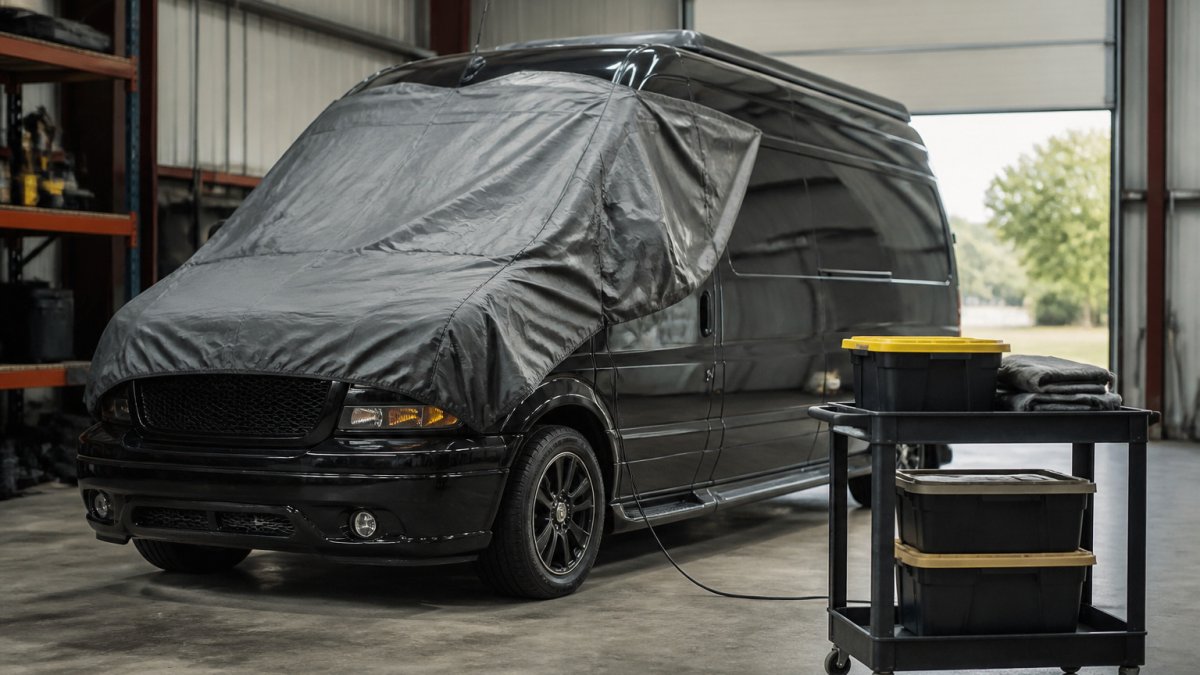
The best way to handle golf van storage long term is to empty and clean the cabin, fill the fuel tank with stabilizer, maintain the batteries with a suitable charger, and keep moisture out using a dry location and absorbers. A breathable cover and a short checklist before storing will prevent most damage.
- Never store the van with a nearly empty fuel tank to avoid condensation.
- Connect a battery maintainer matched to your battery chemistry, such as AGM or lithium.
- Place moisture absorbers in the cabin and replace them when they fill up.
- Use a breathable, fitted cover rather than sealing a damp van in plastic.
- Check tire pressure and use jack stands to take weight off the tires for winter storage.
Table of Contents
- Why Long-Term Golf Van Storage Needs a Plan
- Long-Term Vehicle Storage Checklist for Your Golf Van
- Cleaning and Emptying the Interior Before Storage
- Van Battery Maintenance During Storage
- How to Prevent Moisture in a Stored Van
- How to Prepare a Van for Winter Storage
- Getting Your Golf Van Back on the Road After Storage
- Frequently Asked Questions
Why Long-Term Golf Van Storage Needs a Plan
A custom golf van is a serious investment, and it deserves more than a corner of the garage and a prayer. A few neglected months can turn a vehicle into a repair list. Long term golf van storage tips matter most for owners who park their van for the off-season, through a winter, or between tournament seasons.
Long-Term Vehicle Storage Checklist for Your Golf Van
Use this checklist before every long storage period:
- Wash the exterior and dry it completely
- Clean and empty the interior
- Fill the fuel tank and add stabilizer
- Check tire pressure and set it to the manufacturer’s recommended level
- Connect a battery maintainer
- Place moisture absorbers in the cabin
- Cover the van with a breathable, fitted cover
- Park on a level surface and release the parking brake gently
Watch out: Never store a van with a nearly empty fuel tank. Condensation can build up in the tank and fuel lines over time.
A few extra checks help too. Open the windows slightly if the storage area is secure. Note the odometer reading and date so you remember when you last drove it.
Cleaning and Emptying the Interior Before Storage
Empty the van completely before it goes into storage. Remove food, drinks, trash, towels, and any clothing. Leftover items attract pests and trap moisture.
Clean upholstery and carpets thoroughly. Vacuum every seam and under every seat. Wipe hard surfaces with a mild cleaner made for automotive interiors. Let everything dry fully before closing the doors.
Pay close attention to golf gear. Remove clubs, shoes, and bags, and wipe them dry. Store them in a separate space if possible so their dirt and moisture don’t spread through the cabin.
Leave cabinet doors and drawers slightly open to let air circulate. Closed, sealed interiors can develop musty odors within weeks.
Van Battery Maintenance During Storage
Batteries are the most common reason a stored van won’t start, and on a golf van the problem is bigger than the starting battery. Before budgeting for upkeep, see what custom van maintenance and repairs typically cost. A custom build usually carries a second, auxiliary battery bank for cabin lights, a cooler, device chargers, and any climate or ventilation gear. Both banks lose charge while the van sits, and cold weather accelerates the loss.
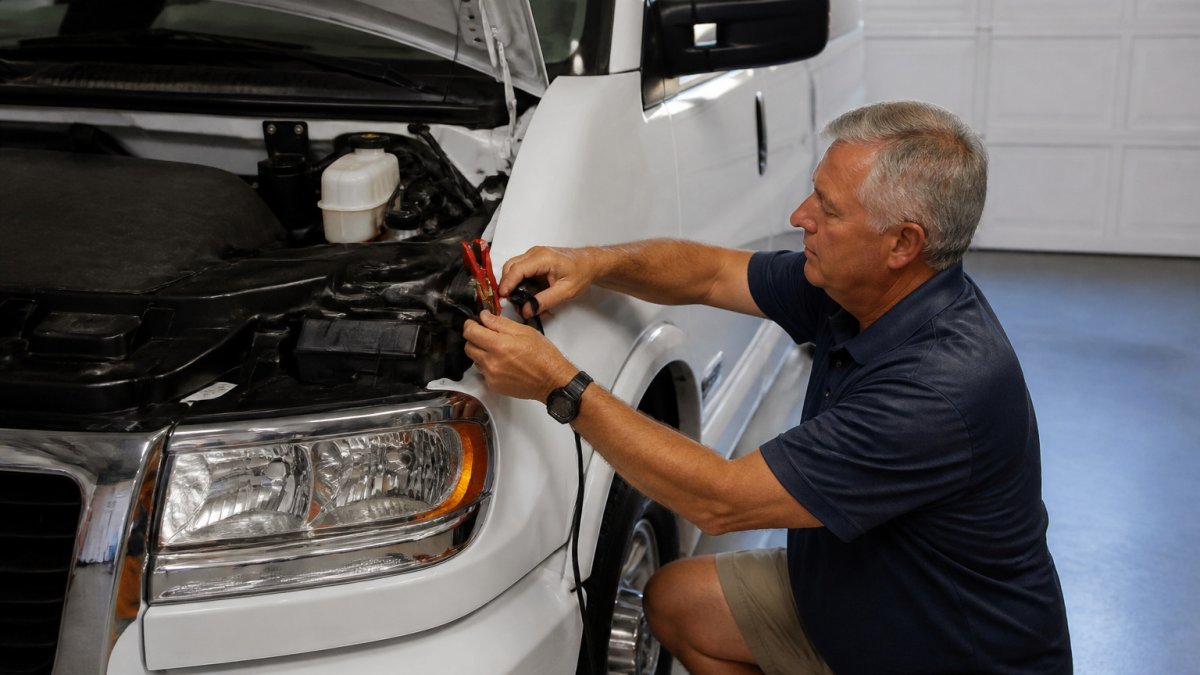
Start by mapping what stays energized. Even with the key off, a van draws a small parasitic load from the radio memory, alarm, and control modules. A common pattern is a few dozen milliamps; over a month of storage that is enough to leave a starting battery at a no-crank state. The auxiliary bank drains faster if anything is wired to it directly rather than through a switch or relay.
Match the maintainer to the battery chemistry
- Flooded lead-acid: a standard multi-stage maintainer works. Confirm it has a float stage so it does not overcharge.
- AGM: use a maintainer with an AGM setting; AGM batteries are sensitive to overvoltage.
- Lithium (LiFePO4): use a charger rated for lithium, and check the manufacturer’s storage voltage guidance. Many lithium packs prefer to sit at partial charge rather than full.
Size the maintainer to the bank, not the van. A maintainer rated around 1-2 amps is typical for a starting battery; a larger auxiliary bank may need a higher-output maintainer or a multi-bank unit that services both batteries independently. A multi-bank maintainer is usually the cleanest solution because it isolates the two banks and prevents one from back-feeding the other.
If you cannot use a maintainer
Disconnect the negative cable on the starting battery to stop the parasitic drain. On the auxiliary bank, open the master disconnect switch if the build has one. Note that disconnecting can reset radio presets, seat memory, and some module adaptations, so plan to reinitialize them on return.
Check state of charge every few weeks with a voltmeter. A rested lead-acid battery at roughly 12.6 volts is near full; 12.2 volts or lower signals a recharge is due. Lithium banks read differently, follow the manufacturer’s voltage chart rather than a lead-acid rule of thumb.
Keep terminals and connections clean
Corrosion adds resistance and makes starting harder. Mix baking soda and water, scrub the terminals, rinse, and dry. Apply a thin dielectric grease or terminal protector afterward. While you are there, inspect the auxiliary wiring for chafed insulation or loose lugs, a stored van is the right time to catch a connection that would fail on the road.
Never leave a maintainer connected to a battery that is visibly swollen, leaking, or older than its service life. A failing battery on a constant charger is a fire risk. Replace it before storage instead.
Batteries are the most common reason a stored van won’t start, so the article’s battery guidance is worth scanning at a glance.
| Battery type | Maintainer setting | Key note |
|---|---|---|
| Flooded lead-acid | Standard multi-stage with float | Confirm float stage to avoid overcharging |
| AGM | AGM setting | Sensitive to overvoltage |
| Lithium (LiFePO4) | Lithium-rated charger | Check manufacturer storage voltage |
| Starting battery (no maintainer) | Disconnect negative cable | Stops parasitic drain |
| Lead-acid check | Voltmeter reading | 12.6 V near full; 12.2 V or lower needs charge |
How to Prevent Moisture in a Stored Van
Moisture is the silent threat in any long-term storage plan. It causes mold, mildew, rust, and rot in upholstery and wood trim.
Start with a dry storage location. A climate-controlled garage or indoor storage facility works best. If you store the van outside, use a breathable cover that lets water vapor escape while blocking rain and snow.
Use moisture absorbers inside the cabin. Desiccant packs or moisture-absorbing containers can pull water from the air. Replace them when they fill up.
Run the air conditioning or heating briefly every few weeks if your storage is somewhere the engine can be safely started. Running the system helps circulate air and keeps seals from drying out.
Watch out: Don’t seal a damp van inside a plastic cover. Trapped moisture can cause more damage than leaving the van uncovered in a dry space.
How to Prepare a Van for Winter Storage
Winter storage is where a golf van takes the most abuse, because freezing temperatures act on fluids, rubber, and batteries at the same time. The goal is to leave nothing in the van that freezing can damage and nothing on the van that ice can crack.
Coolant and fluids
Check the coolant with a hydrometer or refractometer, not by eye. A 50/50 mix of antifreeze and water is the common baseline and typically protects to well below zero in most of the country, but the correct ratio is whatever the manufacturer specifies for your engine. If the mix is weak, drain and refill before storage, a cracked block or heater core costs far more than a jug of coolant.
Top off washer fluid with a winter-rated formula. Summer fluid can freeze in the lines and crack the reservoir. Check brake fluid and oil levels as well; contaminated or low fluids sit and degrade over the off-season.
Tires and suspension
Tires develop flat spots when they carry load in one position for months. Inflate to the pressure on the door jamb placard, then add a few psi for storage, many owners run about 5 psi above the placard to compensate for slow leakage. Better still, take weight off the tires by placing jack stands under the frame at the manufacturer’s lifting points. Do not leave the suspension hanging; support the frame, not the axles, so the springs stay loaded as designed.
Rubber, seals, and glazing
Condition door gaskets, window seals, and slide-door tracks with a silicone-based protectant. This keeps rubber flexible through freeze-thaw cycles and prevents doors from sticking shut. Inspect the windshield and any roof vents for chips that could spread in cold weather.
Golf gear and cabin contents
Remove clubs, bags, shoes, and gloves. Cold is hard on golf club grips and shoe adhesives, and any moisture in a bag becomes mildew in a sealed cabin. Empty the cooler and leave its lid open. If the van has a water system, a sink, a shower, or a portable tank, drain it completely and blow out the lines so residual water cannot freeze and split a fitting.
Snow and ice
If the van must stay outdoors, keep snow off the roof and clear it away from the tires so meltwater does not refreeze around the contact patches. Do not let snow pile against the doors, where it can force meltwater into the seals. A breathable cover helps, but never put a cover on a wet van.
The winter checklist is short: correct coolant mix, tires off the load or overinflated, seals conditioned, water systems drained, and golf gear out. Everything else is a variation on those five.
Getting Your Golf Van Back on the Road After Storage
Ready the van before you drive it. Start by removing the cover and checking for pests, mildew, or moisture. Open all doors and windows and let the cabin air out for a while.
Reconnect the battery if you disconnected it, and check all fluid levels. Inspect tire pressure and look for any signs of dry rot on belts and hoses.
Start the engine and let it idle for several minutes. Watch the dashboard warning lights and listen for unusual noises. Take a short, gentle test drive before any long trip.
Once the van runs smoothly, reset any stored settings, such as the clock or seat memory. Then schedule a basic service if the van has sat for an extended period.
Frequently Asked Questions
How do you prepare a golf van for long-term storage?
Start by cleaning the interior and exterior, removing all food, trash, and personal items, and emptying golf bags and club storage so nothing sits damp or gets chewed by pests. Top off fluids, add fuel stabilizer to a full tank, and inflate tires to the pressure listed on the door placard. Connect a battery maintainer, then park the van in a dry, covered space. Cover it with a breathable vehicle cover rather than plastic, which traps moisture. Writing the storage date and mileage in a log helps you track what needs attention when you return to it.
Should you disconnect the battery before storing a golf van?
For most stored vans, a battery maintainer is a better choice than disconnecting the battery. A maintainer keeps the charge stable and also powers the clock and security settings that a disconnected battery would lose. If you do disconnect the battery, clean the terminals first and keep the battery in a cool, dry place. Either way, check the charge monthly, because a battery left alone can discharge enough to lose its ability to start the van.
How often should you start a van that is in storage?
If you are not using a battery maintainer, start the engine and let it run for about 10 to 15 minutes at least once a month. Running the van lets oil reach the engine parts, keeps seals from drying out, and helps prevent flat spots on the tires. Let the engine warm up fully and run the air conditioning or heat briefly to circulate fluids and keep the climate system components moving. Avoid short idling sessions, which do not heat the engine enough to drive off condensation in the exhaust.
Get started with GOLF Cruiser and see how a well-built golf van is designed to hold up in storage and on the road. Contact us today to talk through your storage plans and custom layout options.
